
Event
Matthias Geier (Q&U Lab, TU Berlin) : Object-based Audio Reproduction with the SoundScape Renderer
Thu, April 19, 2012, 10:00pm
Thursday, April 19, 2012 - 22:00
General Price
$0.00
Student Price
$0.00

A look back at some items in our archives.
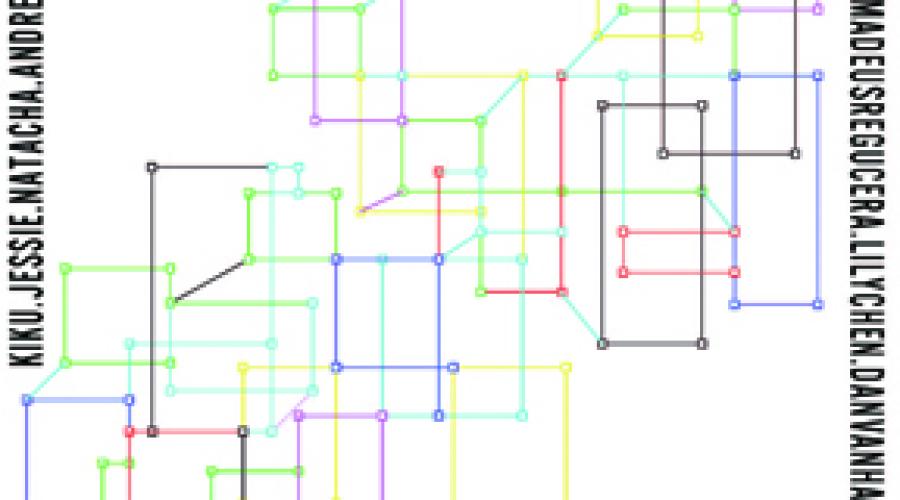

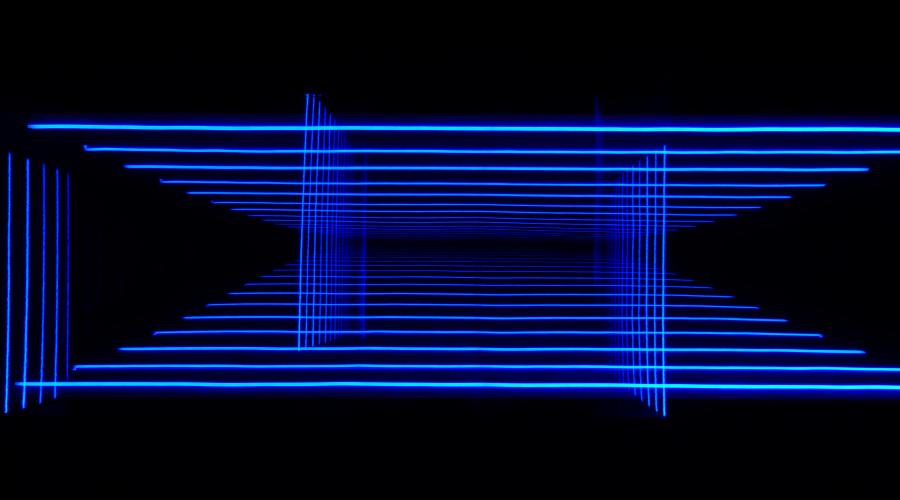
A E R is a site-specific installation, by UC Berkeley Graduate Composer Didem Coskunseven and Engin Daglik (Stanford), focusing on turning a ‘transitive space’ into a ‘space of experience’ by using lighting design and interactive spatial sound design in such a way that they manifest both an uncanny and inviting ambience. The work consists of four light structures hung on the surfaces of a shipping container and 8-channel interactive audio immersed in this transitive space.
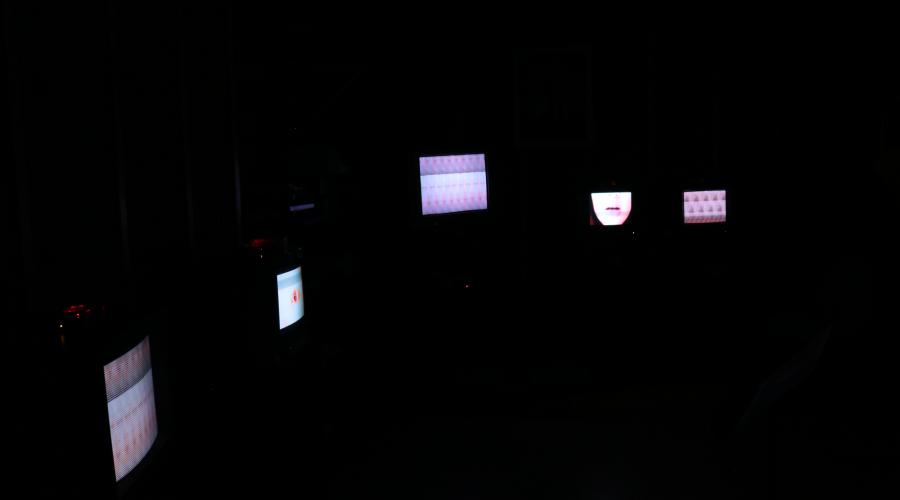
t h e b o d y y o u d r e a m o f i s y o u r o w n (2019) is a musical theater piece designed and composed by UC Berkeley Music and Data Science Senior, Trevor Van de Velde. The project incorporates elements of video installation, microprocessors, and live performance. Inspired by the aesthetics of vaporwave, the body you dream seeks to explore our bodies in relation to technology. The installation consists of video and audio of white noise emanating from these artefacts that slowly diverge into those of the corporeal body.
From concerts and research conducted in the main room of our main facility at 1750 Arch Street in Berkeley, CA to large-scale installations in concert halls at UC Berkeley and beyond, enabling the exploration of a spatial dimension in music composition remains a central feature of CNMAT's research agenda.
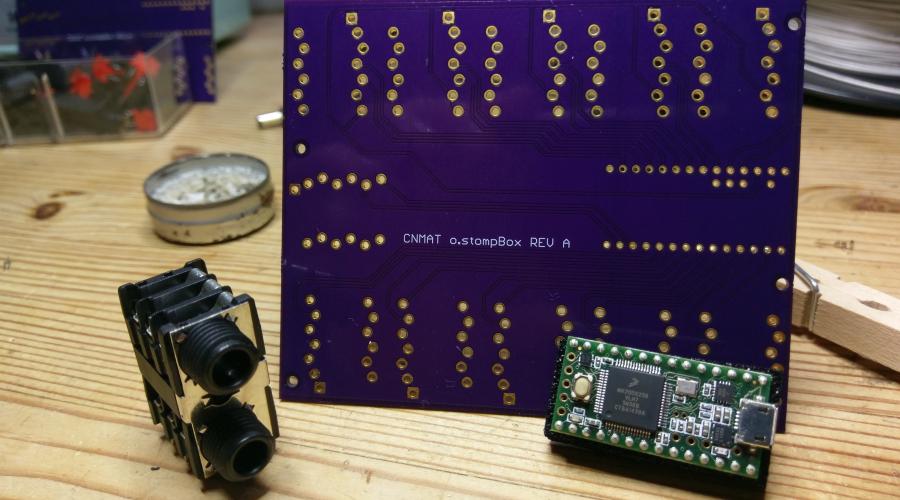
The CNMAT StompBox 2.0 is being designed, programmed and assembled by Music and Computer Science major Luke Dzwonczyk with support from CNMAT's Jeremy Wagner and Professor Edmund Campion. Luke completed Music 158A and Music 158B which qualified him to participate in the Music and Technology "Discovery Experience", a CNMAT and Department of Music initiative to increase Undergraduate Research and Capstone projects involving music and technology at CNMAT.
Resistor "Pull-ups" and "Pull-downs" serve many purposes in electronics. A pull-up is a resistor with one end wired to a positive power rail. A pull-down has one end wired to ground or a negative rail. Here is a basic introduction with schematics. A wikipedia entry covers this but is full of arcana like ttl logic gates.
The basic design pattern for shunt-mode pressure sensing with piezo resistive materials is illustrated with fabric.
A second sensor improves on this design by interdigitating the conductors.
How to build a Tablo fabric gesture controller
This illustrates how to use malleable conductive materials and office supplies to make your own potentiometer any size you like.
A fabric pressure/touch sensor you can build yourself in seconds.
This kit for the 2008 class included materials for scratch assembly of sensors, a CUI board running uOSC and a few tools such as scissors.
The majority of acceleration/tilt sensors used these days are single integrated circuits MEMS devices. The cheap ones are made for air bag and other high volume applications. Although the chips are cheap ($5-10 Retail,<$1 in quantity), they are usually sold in surface mount packages that are inconvenient to work with without industrial quality tools.
Most sensing applications of e-textiles use switching, piezoresistivity or optics for direct touch sensing. This instructable shows you how to start exploring another approach - capacitive sensing to measure touch and proximity. It is based on the easy-to-use, cheap capacitance sensing chip evaluation board from Atmel/Qtouch and takes only minutes to create.
Because of the inherent limitations of visual feedback in a single color LED matrix (Monome), I’m starting work with
Adrian on developing an RGB Monome with pressure sensitivity. For now, I’ll focus on the multiplexing/de-multiplexing
process.
We chose the SparkFun button breakout available here:
This is a strong fast and connection for prototyping with the Lilypad.